Filing & Cleaning Metal Miniatures: Part 3
| STAGE#7 - Preparing to Glue Parts. | |
|
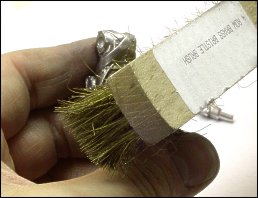
Casting and cutting are finished but remember to check the parts before gluing them together. Using a soft brass bristle brush, polish the figure: (Fig.1). Do not brush too hard (lightly brush) for the best results. You may reduce fine detail otherwise, especially around face or decorations. Polishing will show up any parts missed during filing, and helps to remove file and tooling marks. |
 |
 |
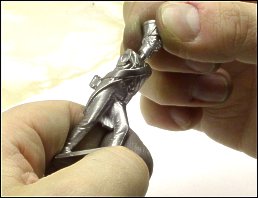
(Fig.2) Always test all the parts before final assembly. Minor bumps or lumps can make gluing messy so it is wise to check for a snug fit before applying adhesive to the parts. Any additional minor filing needed can be done to aid this process. |
|
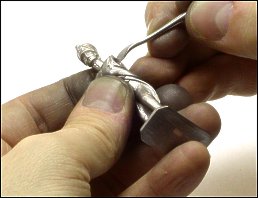
(Fig.3) Clean and roughen areas that are to be glued for a better fix. Dust left in holes will weaken end result but if the surface is too smooth the glue has less 'grip' to hold parts together.
Use what you think best: Epoxy, super glue or solder.
|
 |
 |
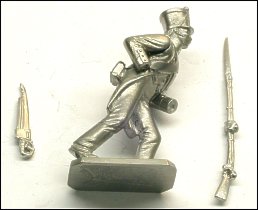
(Fig.4) The Final figure is ready for painting. Sometimes it is best to leave certain parts separate to make it easier to paint. In this case the musket and sword scabbard are left separate so I can paint the straps and breast of jacket. Tips to remember:
Next tutorial - Priming the figure. |
