Painting Metal Miniatures: Part 4 - Final Touches
| STAGE#12 - Painting the figure Part 4 - Final Touches. | |
|
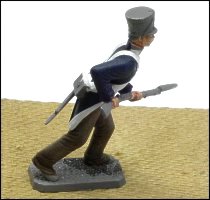
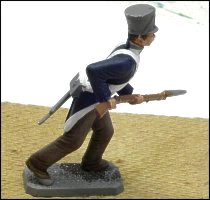
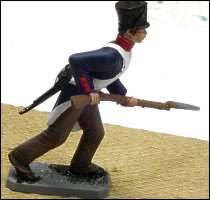
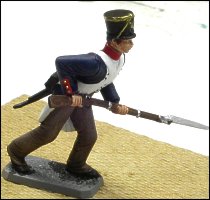
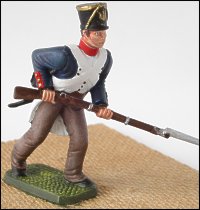
Today we finish the painting of our 80- 54mm figure. We are using the Acrylic paints from Vallejo. Part.1: We have the basic uniform painted already and the skintones. Now we move on to the smaller areas. If any paint is difficult to squeeze out of their containers it may be that the hole is blocked with dried paint, so clear it with a needle. Part.2: Using Flat Brown (av984) to base coat the soldier's hair first, and leave it to dry. There is no need to use water to dilute ANY of the paints we are using this tutorial. Such small areas can easily be painted straight from the paint bottles. Use Beige Brown (av875) to base coat the wooden looking parts of the rifle. Let this dry. Part.3: Now add Vermilion (av947) to the collar and cuffs of the uniform, using a fine brush, carefully avoiding overlapping the blue coat. This helps to define the uniform. Add a black (av950) base coat to the hat. Cover the hat completely. Again don't overlap the skin or hair. Let this dry. It is wise to paint ALL the areas that require a certain paint colour at the same time. So paint the shoes and bag black as well. Part.4: Now add a wash of Smoke (av939) to the wooden looking parts of the gun to bring out the grain and make the details stand out. Then let dry. While that is drying add the gold trimmings to the hat and uniform (e.g.: buttons) using Old Gold (av878). Never add water to any metallic paint as the paint will break up and become too runny and may even change colours. Last but not least add Silver (av997) to the metal parts of the gun including bayonet. Silver is easier to apply than Natural Steel (av864). Tip: Natural Steel is Silver with black added. Part.5: Always leave the base to last, it will be stained with other paints so base coat it with Reflective Green (av890) and when dry add a highlight of Deep Yellow (av915) to create contrast. Use an old larger brush to highlight colours, The shape of the brush may be a little frayed but that is OK. Now you have a painted figure from Napoleon's army ready to play with. Of course you may add a protective glaze over the figure if you wish to avoid paint flaking from handling. But that tends to interfere with photographing. More advanced techniques discussed when painting next tutorial.. Hints and tips from our newsletter subscribers: This comment was sent in in June about how we paint eyes. Mr Benson felt our method made the eyes look odd. So he offered an alternative method: "It has been my observation that the irises (colored portions) of painted soldiers eyes are almost always painted too small ...... I believe that a better way to paint eyes is to paint the eyeball first and the iris second , allowing both to overlap the eyelids, top and bottom. Thanks - please send in your tips and tricks to share with others. |
 |
 |
|
 |
|
 |
|
 |
|
