Painting Metal Miniatures
| STAGE#9 - Painting the figure Part 1. | |
|
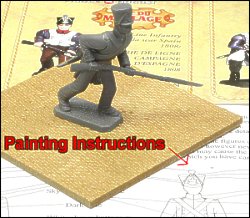
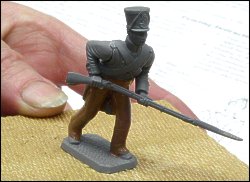
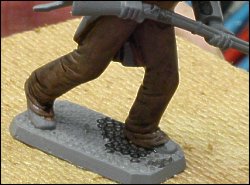
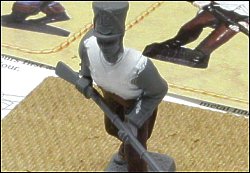
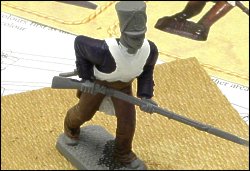
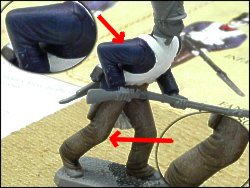
Painting is often a very individual style so your style may vary but this is how I work.. (Fig.1). The instructions that came with the 80-series figure plus the box label for references. Attach the figure to a board so you are not handling the figure while painting. This avoids fingerprints and smudging. The paints I use are Vallejo acrylics so I need to add some water to them for different densities of paint. Always mix enough paint colour to cover the intended area of the figure or risk having different shades of that colour appear when you ran out and had to make some more. Mix the water evenly so the paint is not lumpy and can be painted smoothly. Fig.2: We start with a base coat of brown for the trousers, lightly painting the area so the paint is evenly coating the figure. Allow for a slight overlap onto other unpainted areas as you will be painting those later and can correct that overlap. The overlap helps prevent leaving black spots between 2 colours. Always work from the inner undergarments (shirt) out to the overgarments (coat). Dry between each coat - use a fan or heater to assist this process. Work from the larger areas (trousers) first then work on the smaller areas (shoes). Fig.3: Add a light wash of black to the trousers, this fills in the creases and increases details and overall definition. (Washs should be about 5 to 1 water to paint ratio - a kind of translucent level) Dry the brush a little and lightly brush the trousers to remove paint excess from the rest of the raised areas. Stroke brush on a cloth or tissue lightly to remove the excess water and paint as you go. Fig.4 and 5: Add white layer to waistcoat and chest belts ( will need 2 to 3 coats before complete) and use smaller brushes for fine detail and larger brushes for larger areas of coverage. Dry paint before proceeding otherwise paint may mix with previous layer. Add blue (navy) to coat and define the waistcoat and belts with a fine brush. Dry paint. Fig.6: Dry Brush firmly both the coat and trousers to increase details and realism. Use tissue to remove excess water and paint from brush as you go to prevent smearing. The brush thins the paint on the figures highlights (e.g.: knees and elbows) and this makes the colour less uniform and more realistic. |
Never paint too thickly or you may have to take ALL the paint off and start from scratch. |

