Gluing Metal Miniatures Together
| STAGE#8 - Priming the parts of the figure. | |
|
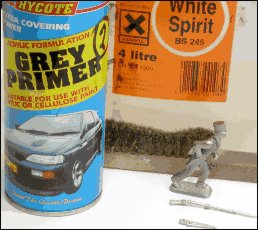
You must now begin the preparation for painting the figure, and this means priming it, the very first layer of paint to be added. (Fig.1). The items you need to use. Using a soft brass bristle brush, lightly dust the figure and parts again. Your choice of primer colour depends on your colour choice, a figure with lots of white should be primed with a white primer for example. |
 |
 |
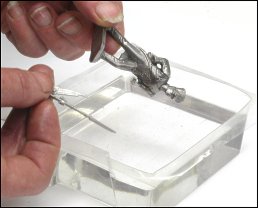
(Fig.2) Immerse the figure and parts into white spirit to remove any remaining particles of polishing or dust. Leave to dry overnight. Due to Strong fumes always use the white spirit in a well ventilated room, otherwise it may affect you adversely. Add the extra items now OR wait until after painting to add the accessories BUT if so you will need to remove with a sharp knife the paint and primer from the location areas as glue will not stick properly to paint. |
|
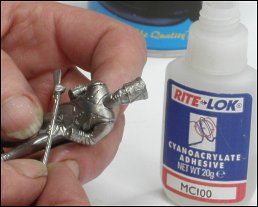
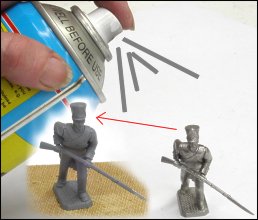
(Fig.3) Use a twinpack strong epoxy glue to bond the accessories to the figure. Superglue is not as good but may be adequate. Hold the parts to the location areas for up to five minutes to be sure of a firm hold. (Fig.4) Aerosol canisters need to be kept a room temperature and shaken well before use to evenly distribute the contents before spraying. Place the figure on a piece of board and use the board to turn the figure as you spray in short bursts.
|
 |
 |
(Fig.4) Test on paper before applying to figure to make sure spray nozzle is clear. Keep the can about 30 cms away from the figure when spraying to avoid overspraying an area and causeing drips. If oversprayed, clean with white spirits and repeat priming again. When finished turn can upside down and spray until all paint is clear. This prevents the possible hardening of the primer in the nozzle when you use it next. Tips to remember:
Next tutorial - Next paint layer. |
