Casting Metal Miniatures from Prince August Rubber Moulds: Part 3
| STAGE#3 - POURING THE METAL | |
|
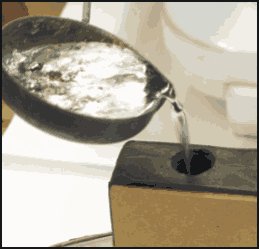
After following the previous two tutorials you should be ready to pour the properly heated metal into a correctly clamped dry mould. Pour the metal steadily, avoid hitting side of the pour hole. Do not stop until the pour hole 'well' is full. The weight of the metal in this 'well' pushes the metal into the extremities of the miniature (Fig.1). |
 |
 |
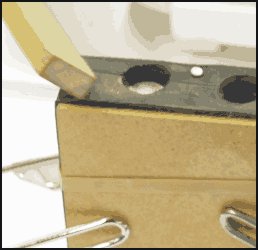
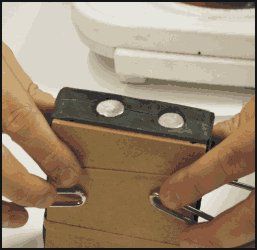
(Fig.2 & 3) While pouring and for a few seconds after it is advisable to tap the mould gently with a piece of wood. This helps settle the metal in the mould. You could also tap the entire mould, using both hands, off the table it rests on. But use extreme caution not to spill any of the metal on yourself. STOP tapping when metal shows signs of cooling and stiffening (after 5 seconds or so) or risk cracking and damaging the newly cast miniature inside. |
|
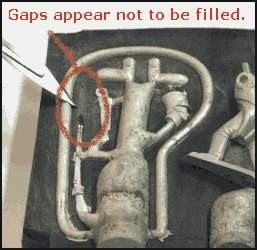
Slowly and carefully part the mould about five minutes after pouring. If the casts have not properly filled - DON'T PANIC. You may have to try a couple of times to make the mould work. If it still fails to fill awkward areas like reins or bayonets (Fig.4) then venting will be required. More on this next tutorial. - see you then. |
 |
 |
Tips to remember:
|
